◆EC2のRHEL7にRedmineを構築するレシピ◆
◆AWSの準備◆
 まずはAWSの申し込みを行いましょう。
はじめての場合は、1年間は毎月無料枠が用意されており、はじめのうちはほとんど無料で利用できるようです。
しかし、本レシピで使用するインスタンスタイプは、無料枠で使える「t2.micro」ではなく、「t2.small」以上が必要です。これは、Redmineが比較的メモリを使いますので、メモリはシステム全体で2G以上確保する必要があるためです。
◆インスタンスの作成◆
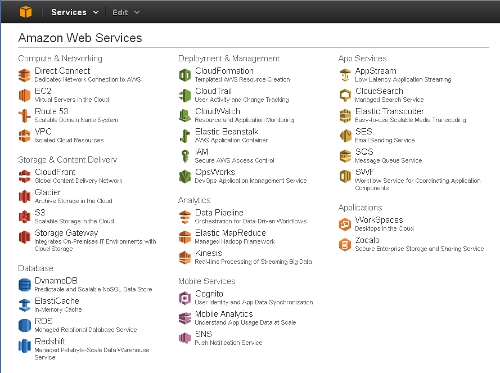
申し込みが完了すれば、早速以下のAmazon Web Servicesのトップページに行きます。
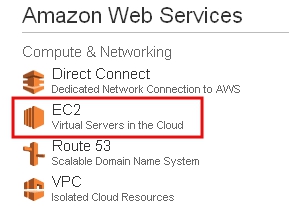
ここで、以下の通り、「EC2」をクリックします。
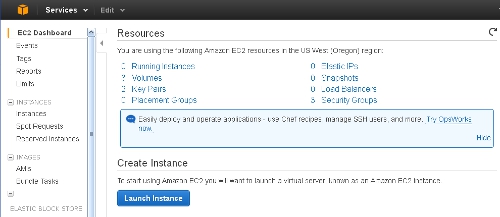
以下のEC2ダッシュボードが表示されます。
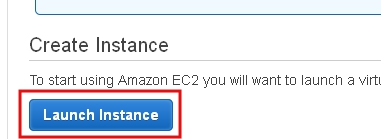
「Launch Instance」ボタンをクリックし、Linuxのインスタンスを作成します。
- マシンイメージの選択画面「Choose an Amazon Machine Image (AMI)」が表示されます。

このレシピでは、以下の「Red Hat Enterprise Linux 7.0」のマシンイメージを選択します。「Select」ボタンをクリックしてください。

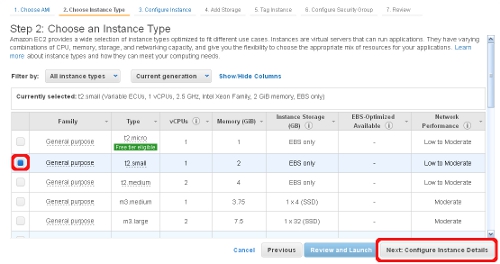
- 次に、インスタンスタイプの選択画面「Choose an Instance Type」が表示されますので、以下の通り「t2.small」を選択し、「Next: Configure Instance Details」をクリックします。
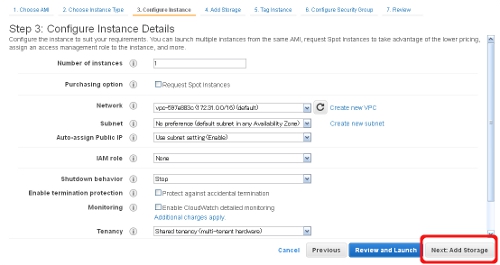
- インスタンスの内容設定「Configure Instance Details」が表示されます。ここは、デフォルト設定のまま、「Next: Add Storage」をクリックします。
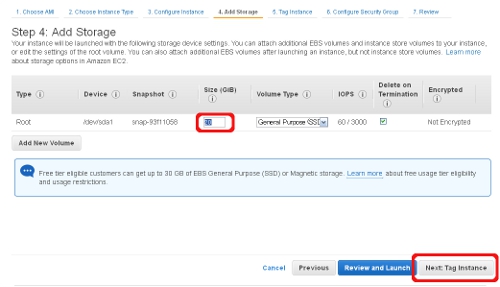
- ストレージの設定「Add Storage」が表示されます。ここは、デフォルト設定のサイズ10GBから20GBに増やし、「Next: Tag Instance」をクリックします。
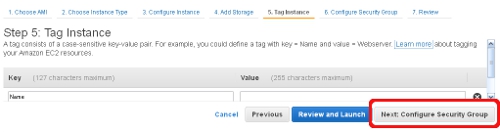
- タグの設定「Tag Instance」が表示されます。ここもそのままで、「Next: Configure Security Group」をクリックします。
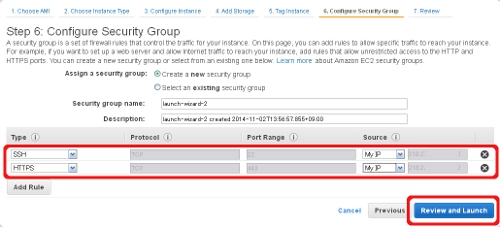
- 次にセキュリティグループの設定「Configure Security Group」が表示されます。
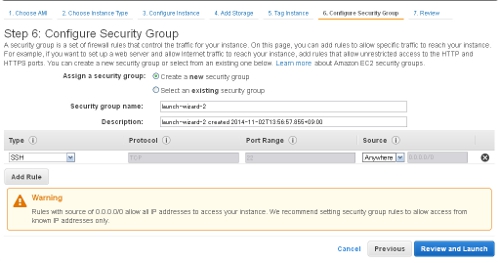
セキュリティグループは、インスタンスの仮想ファイアウォールで、OS自体のファイアウォールを効かせていなくても、ここさえきっちり設定しておけば、インスタンスを守ってくれます。
このレシピでは、必要最低限の設定として、Inboundに対してMyIPからのsshとhttpsのみ許可する内容のものを作成し適用します。
結果、以下のような画面になりますので、「Review and Launch」ボタンをクリックします。
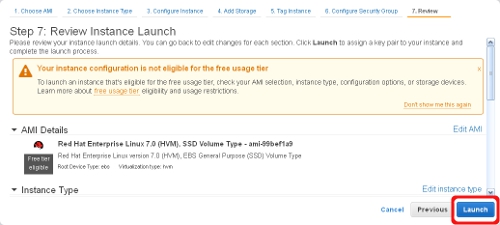
- 次に、これまでの選択内容が表示されます。
特にインスタンスタイプが「t2.small」ですので、無料使用の対象でない旨警告メッセージで表示されます。よければ「Launch」をクリックしてください。
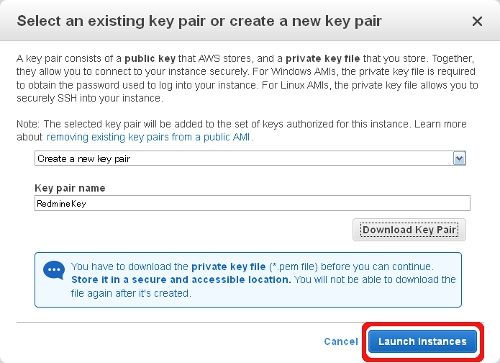
Key Pairの選択画面が表示されますので、新たに作成する場合は、以下の通り「Key pair name」に任意の分かりやすい名前を入力し、「Download Key Pair」をクリックして、ダウンロードしてください。
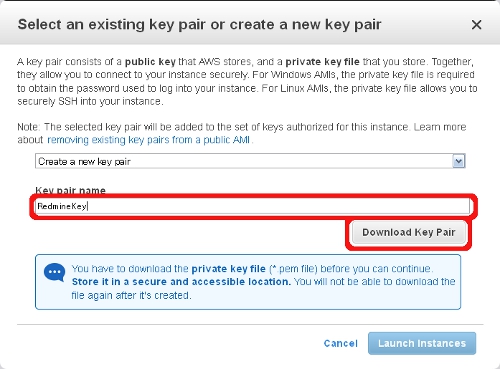
ダウンロードしたKey Pairは後ほど使用しますので、大切に保管してください。
Key Pairの保管が出来れば、以下の通り「Launch Instance」をクリックしてください。
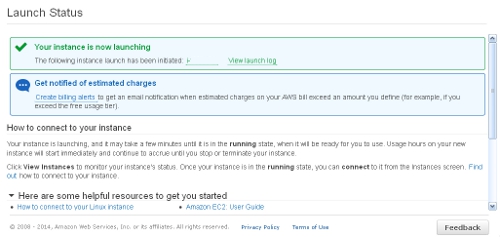
以下の通り「Launch Status」画面が表示されれば、インスタンスの作成と開始は完了です。
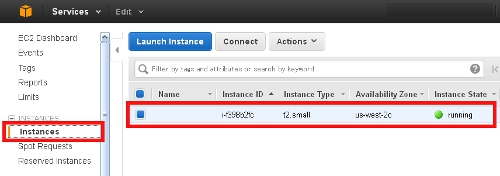
- 「EC2 Management Console」画面に戻り、以下の通り「Instances」メニューで、作成したインスタンスが起動していることが確認できます。
以上でAWSの準備は完了です。
|